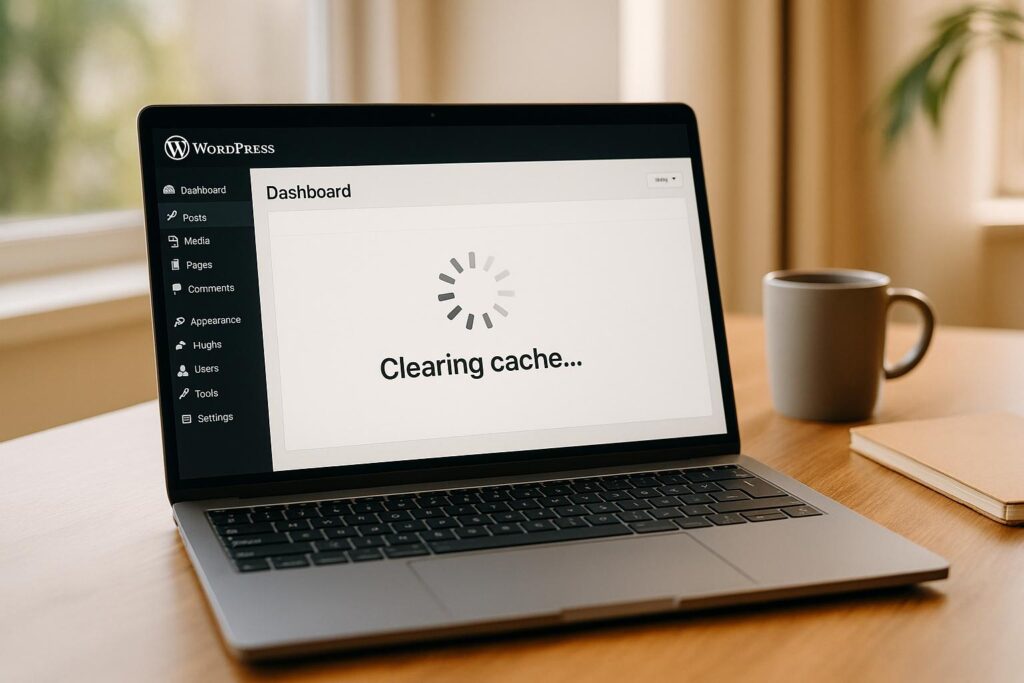
Clearing your WordPress cache ensures your website reflects the latest changes and fixes common issues like broken layouts or outdated content. Here’s a quick summary of how to clear different types of cache:
- Browser Cache: Clear cached files like images and CSS directly from your browser settings. Use shortcuts like
Ctrl + Shift + Delete(Windows) orCommand + Shift + Delete(Mac) for quick access. - Plugin Cache: Use WordPress caching plugins (e.g., WP Super Cache, W3 Total Cache) to remove cached pages or assets from your server with a single click.
- Server-Side Cache: Hosting providers (like SiteGround or Bluehost) offer tools to flush server-level cache via their dashboards.
- CDN Cache: Clear cache through your CDN provider (e.g., Cloudflare, StackPath) to ensure global updates.
- Manual Cache Clearing: Delete cache files directly via FTP or your hosting file manager for precise control.
How To Clear WordPress Cache: 3 Easy Ways
How to Clear Browser Cache for WordPress
Browser cache stores static files like images, JavaScript, and CSS on users’ devices to speed up browsing. While this improves loading times, it can cause issues when you’ve updated your WordPress site but visitors still see outdated content. If recent changes to your design, content, or plugins aren’t reflecting on your live site, clearing the browser cache forces the browser to load the latest files from your server.
A hard refresh is a quick way to bypass the cache temporarily, but for persistent issues, you’ll need to clear the cache directly through your browser’s settings. Here’s how to do it for the most popular browsers:
Clear Cache in Google Chrome
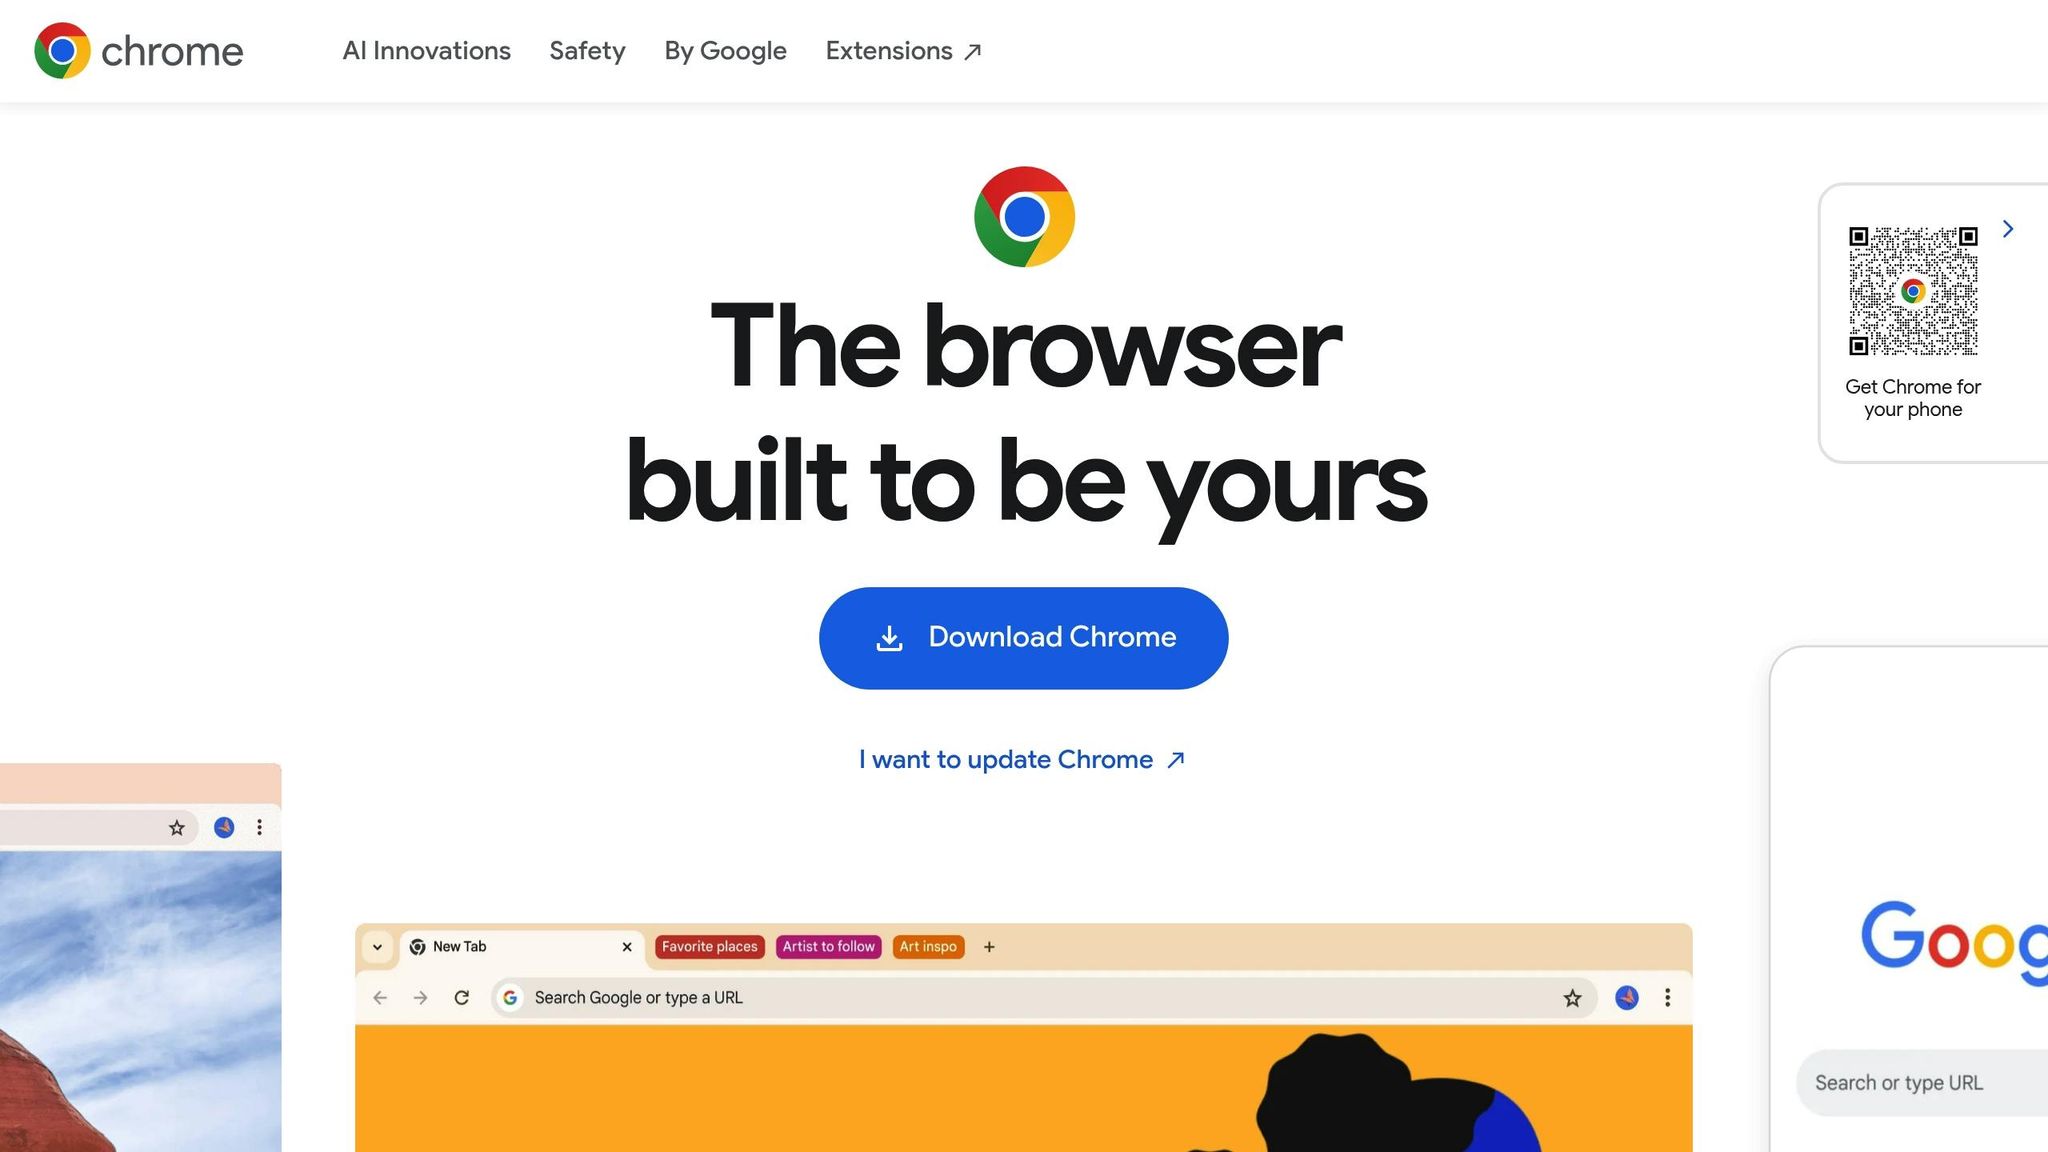
Since Chrome is the most widely used browser in the United States, knowing how to clear its cache is crucial.
- Open Chrome and click the three-dot menu in the top-right corner.
- Select "Settings" from the dropdown menu.
- Navigate to "Privacy and security" in the left-hand menu.
- Click on "Clear browsing data."
In the popup window, you’ll see options under "Basic" and "Advanced." Stick to the "Basic" tab for simplicity. Ensure the "Cached images and files" option is checked – this is the key setting to resolve WordPress cache issues. If you want to retain your browsing history and login sessions, uncheck "Browsing history" and "Cookies and other site data."
Choose a time range. Select "All time" to clear everything, or pick "Last 24 hours" for recent changes. Once ready, click "Clear data."
For a quicker method, use the shortcut Ctrl + Shift + Delete (Windows) or Command + Shift + Delete (Mac) to open the cache clearing window directly.
Clear Cache in Firefox
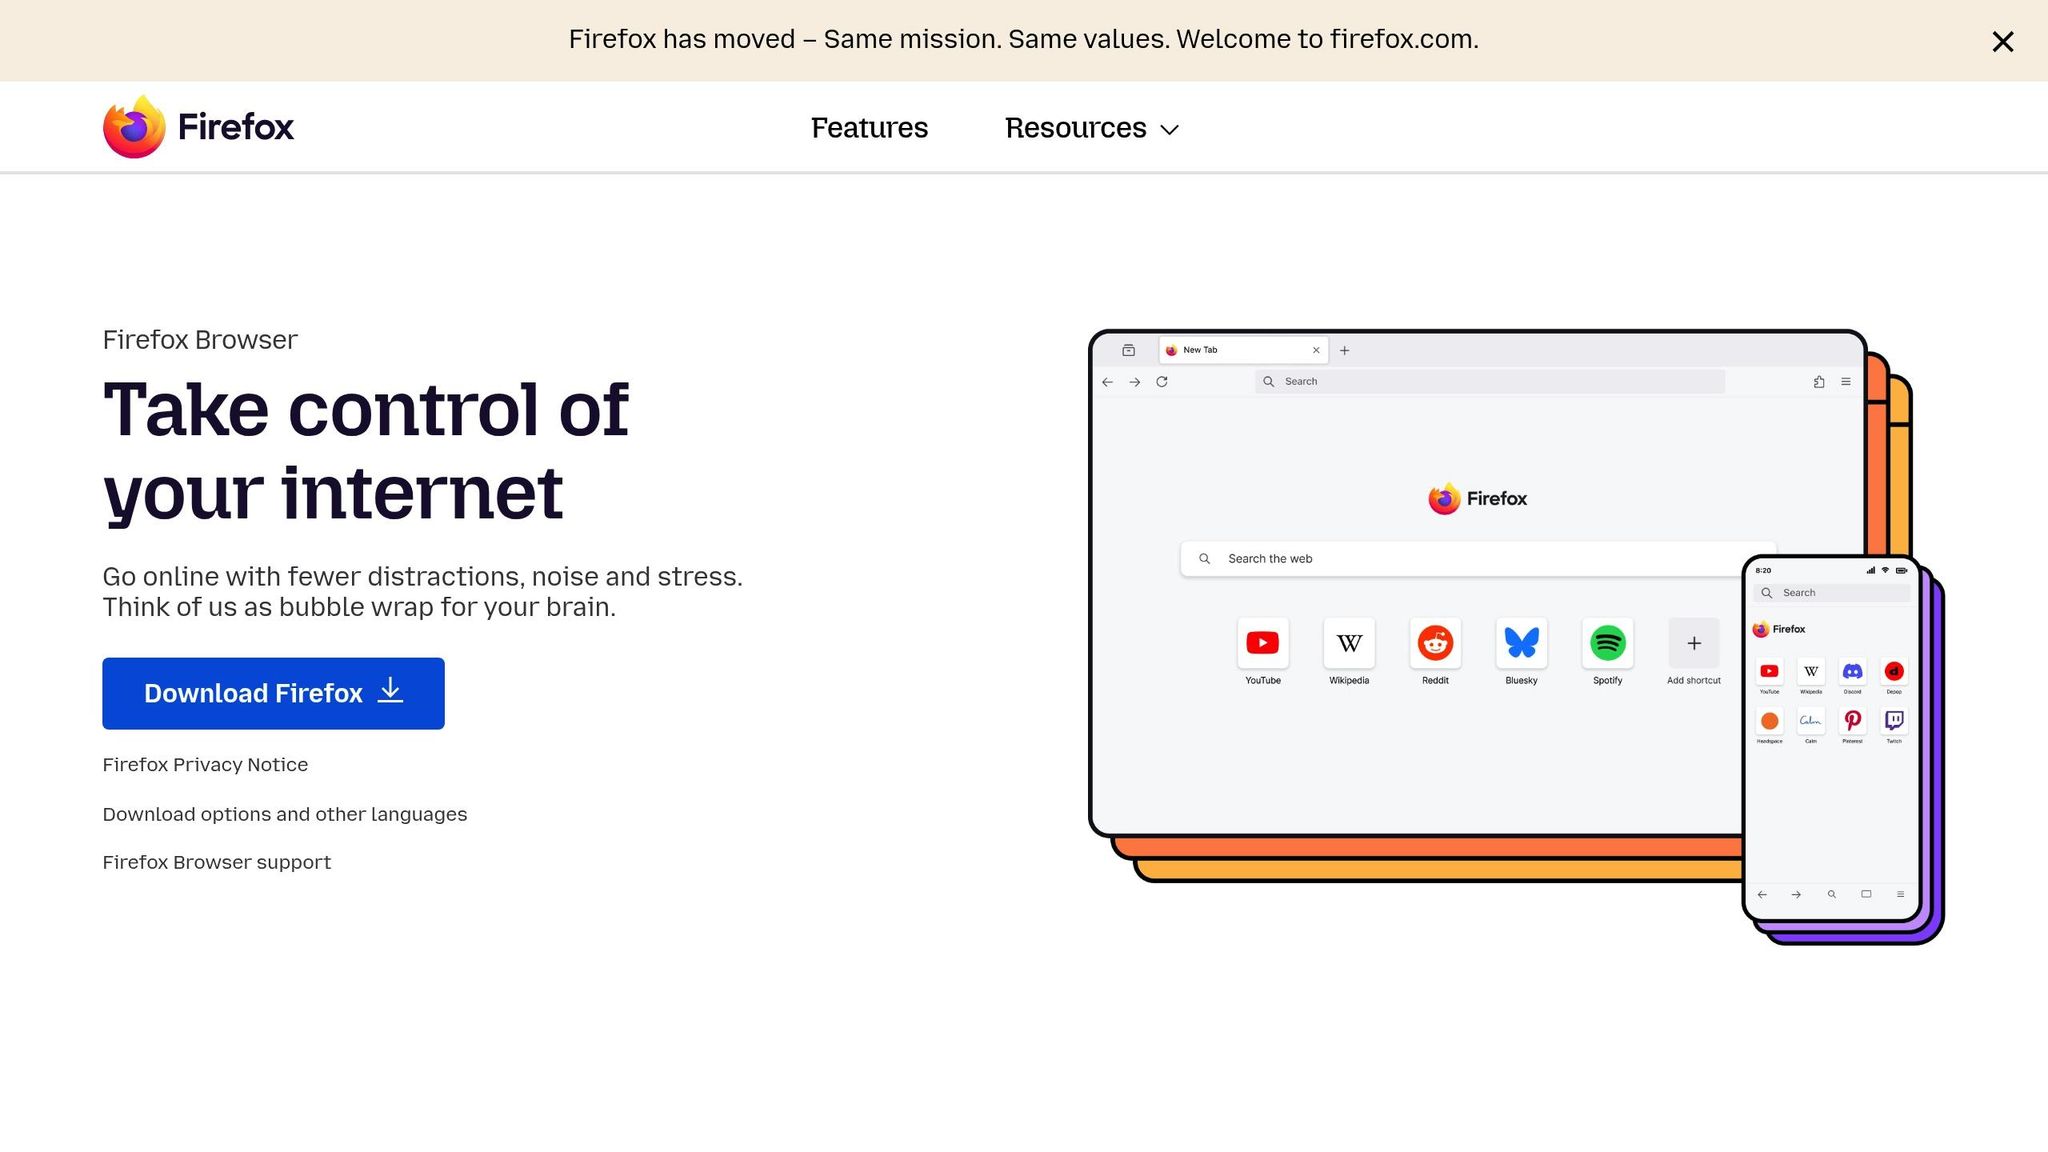
Firefox stores website elements like images and scripts in its cache to speed up browsing. If your WordPress updates aren’t showing, clearing this cache can help.
- Click the menu button (☰) in the top-right corner and select "Settings."
- Go to "Privacy & Security" in the left-hand menu.
- Under "Cookies and Site Data", click the "Clear Data" button.
A dialog box will appear with two options: "Cookies and Site Data" and "Cached Web Content." To resolve WordPress cache issues, make sure "Cached Web Content" is checked. If you’d like to stay logged into your accounts, uncheck "Cookies and Site Data."
Click "Clear" to delete the cached files. Once complete, refresh your WordPress site to see the latest updates.
Clear Cache in Microsoft Edge and Safari
Microsoft Edge uses a process similar to Chrome, as both are built on the Chromium engine:
- Click the three-dot menu in the top-right corner and select "Settings."
- Go to "Privacy, search, and services" in the left-hand menu.
- Scroll down to "Clear browsing data" and click "Choose what to clear."
Select "Cached images and files", then choose a time range. "All time" clears everything, while "Last 24 hours" works for recent changes. Click "Clear now" to remove the cached files. For quick access, you can use Ctrl + Shift + Delete on Windows.
Safari on Mac has a slightly different process:
- Open Safari and click "Safari" in the menu bar, then select "Preferences."
- Go to the "Advanced" tab and enable "Show Develop menu in menu bar."
- Once the Develop menu appears, click "Develop" in the menu bar and select "Empty Caches."
Alternatively, you can press Command + Option + E to clear the cache instantly. After clearing, refresh your WordPress site to ensure changes are visible.
If you still see outdated content after clearing the cache in any browser, try closing and reopening the browser or check if your WordPress site has additional caching mechanisms, such as server-side caching or plugins, that need attention.
How to Use Plugins to Clear WordPress Cache
After clearing your browser cache, the next step is managing server-side caching, and WordPress plugins make this process much simpler. These tools allow you to handle server-side cache directly from your WordPress dashboard. Unlike browser cache clearing, which happens locally, these plugins focus on removing cached files stored on the server, ensuring your latest updates appear for visitors without delay.
The best part? You don’t need to mess with server files or complex configurations. Many plugins even clear cache automatically when you publish new content. However, for larger changes, manual clearing is often required. Below, we’ll walk you through how to clear cache using some of the most popular WordPress plugins.
Clear Cache with WP Super Cache
WP Super Cache is a beginner-friendly plugin that creates static HTML versions of your WordPress pages. These static files load faster for visitors but need to be cleared whenever you update your site content.
Here’s how to clear cache with WP Super Cache:
- Log into your WordPress dashboard and go to Settings > WP Super Cache in the left-hand menu.
- On the settings page, find the "Delete Cached Pages" section.
- Click the "Delete Cache" button to remove all cached files.
- You’ll see a confirmation message once the process is done.
After clearing the cache, check your website to confirm that your updates are now visible.
Clear Cache with W3 Total Cache
W3 Total Cache is another popular option, offering advanced caching features while keeping the clearing process straightforward.
To clear cache with W3 Total Cache:
- Log into your WordPress admin area and find the "Performance" menu. You’ll see it either in the top toolbar or the left-hand menu.
- Hover over "Performance" to reveal the submenu, then click on "Dashboard" to open the plugin’s main control panel.
- Look for the "Purge All Caches" button and click it to clear all cached content on your site.
If you need more control, W3 Total Cache also has a "Purge Modules" feature, which lets you selectively clear specific types of cache, like page cache, object cache, or minified assets.
Clear Cache with WP Fastest Cache
WP Fastest Cache is known for its simple, user-friendly interface, making it a great choice for quick cache management.
To clear cache with WP Fastest Cache:
- Navigate to the plugin’s settings via the dedicated menu in the left sidebar of your WordPress dashboard.
- In the WP Fastest Cache dashboard, locate the "Delete Cache" or "Clear All Cache" button.
- Click the button to start the clearing process, which usually takes just a few seconds.
While WP Fastest Cache automatically clears cache when you update content, manual clearing is recommended for larger site changes.
Clear Cache with LiteSpeed Cache
LiteSpeed Cache provides a variety of options for clearing cache, offering flexibility depending on your needs. The quickest way is through the admin toolbar.
Here’s how to clear cache with LiteSpeed Cache:
- After logging into your WordPress dashboard, locate the admin toolbar at the top of the screen. LiteSpeed Cache adds its own menu item, often labeled "LSCache" or marked with the LiteSpeed logo.
- Click on the LiteSpeed Cache menu to reveal options like "Purge All" for clearing all cache or specific options like "Purge CSS/JS."
- For more advanced settings, go to the LiteSpeed Cache dashboard in the left-hand menu. Here, you can access detailed cache statistics and manage specific caches, such as page, object, or CSS/JS cache.
Manual Cache Clearing Methods
Sometimes, plugins don’t clear cache files as they should, or you may need direct control over the process. Manually clearing your cache gives you that control and can be especially handy when troubleshooting persistent caching problems that automated tools fail to resolve.
These methods are straightforward and require only a basic understanding of your WordPress file structure. By manually targeting specific cache files, you can bypass plugin functionality, which is helpful when plugins malfunction or conflict with one another.
Clear Cache via FTP or File Manager
One of the most direct ways to clear your cache is by accessing your WordPress files using an FTP client (like FileZilla) or your hosting provider’s file manager. This method works regardless of which caching plugin you’re using, as it targets the core cache storage location.
Here’s how to do it:
- Connect to your website files using an FTP client or your hosting file manager. If using FTP, you’ll need your FTP credentials, which your hosting provider can provide. For file manager access, log in to your hosting control panel and locate the file manager option.
- Navigate to the wp-content folder in your WordPress root directory. Inside, you’ll find a cache folder containing all the cached files created by WordPress and your plugins.
- Delete only the contents of the cache folder, not the folder itself. Select all files and subfolders within the cache directory and delete them. This keeps the folder structure intact, which your caching plugins require to function.
Once the cache is cleared, your plugins will regenerate the necessary files automatically as visitors interact with your site.
Clear Plugin-Specific Cache Files
Each caching plugin handles its files differently, often storing them in unique locations within your WordPress directory. Knowing where these files are stored allows you to target specific caches when a general clearing isn’t enough.
Typically, caching plugins create subdirectories within the main cache folder. For example, you might find folders named after the plugin or organized by cache type. To locate these files:
- Use FTP or your hosting file manager to navigate to the wp-content folder and open the cache directory. Look for plugin-specific subfolders.
- Some plugins may also store cache files in the wp-content/uploads directory or create their own folders directly within wp-content. Consult your plugin’s documentation for details about its cache storage locations.
This targeted approach is especially useful if a particular plugin is causing issues.
Clear Theme and Object Cache
The object cache stores database information, such as posts, user data, and theme settings, in temporary storage. While it speeds up your site by reducing database queries, you may need to clear it manually if updates to your content or theme don’t show up correctly.
If you have SSH access, you can quickly clear the object cache by running the following command from your WordPress root directory:
wp cache flush This command clears the object cache without affecting other types of cached data. Alternatively, you can manually clear general WordPress cache files, which sometimes include theme-related cached data. To do this:
- Access your WordPress files via FTP or file manager.
- Navigate to the wp-content folder, open the cache folder, and delete its contents.
Theme-specific cache often involves settings related to the customizer, widgets, or template modifications. If significant changes to your theme aren’t appearing on your live site, manual cache clearing can often resolve the issue more effectively than relying on plugins.
Keep in mind that clearing the object cache may temporarily impact your site’s performance, as WordPress will need to rebuild the cache through fresh database queries. However, this process typically completes within a few hours of regular site activity.
sbb-itb-f80d703
How to Clear CDN and Server-Side Cache
If you’ve already cleared your WordPress and browser cache but your changes still aren’t showing up, the issue might be with your CDN or server-side cache. CDNs store your site’s files on servers around the world, while server-side caching keeps frequently accessed data on your hosting provider’s servers. While these systems are great for speeding up your site, they can sometimes delay updates for visitors.
Here’s how you can clear caches for both CDN providers and hosting dashboards.
Clearing Cache with Popular CDN Providers
Most CDN providers make it easy to clear cached files through their dashboards. Here’s how to do it with a few popular options:
- Cloudflare: Log in to the Cloudflare dashboard, select your domain, and go to the Caching section. Choose Purge Everything to clear all cached files, or use Custom Purge to focus on specific URLs or file types. The process is usually quick.
- MaxCDN (now StackPath): In your account dashboard, find the Purge or Cache Management section. You can clear all files or focus on specific directories or file types, with instant feedback on the status.
- KeyCDN: Go to Zone Management in the dashboard, select your zone, and use the Purge Cache option to clear all cached content or specific URLs.
Many CDN providers also offer API options for automating cache clearing. Additionally, several WordPress caching plugins integrate with CDNs and can trigger cache purges automatically when you clear your WordPress cache.
Clearing Cache in Hosting Dashboards
If the issue lies with your server-side cache, most hosting providers offer built-in tools to clear it. Here’s how to do it with some popular hosting services:
- SiteGround: Log in to your hosting dashboard, go to Websites, and select Site Tools for your site. Under Speed > Caching, use the Flush Cache button in the Dynamic Cache or Memcached tabs (look for the broom icon). If you’re using SiteGround’s Speed Optimizer plugin, you can also clear the cache directly from your WordPress admin bar or under Speed Optimizer > Caching by selecting Purge Cache.
- Bluehost: In your hosting dashboard, go to the Websites section and select your site. Under the Speed tab, you’ll find options to clear the entire cache or specific URLs. If you’re in your WordPress dashboard, check Bluehost > Performance or look for a Caching button in the admin toolbar to click Purge All.
- Kinsta: Use the MyKinsta dashboard to manage your server cache. You can either clear the entire cache or target specific pages.
- WP Engine: Clear cache in the User Portal by selecting your site and clicking the Purge All Caches option. WP Engine also offers a staging environment for testing changes before making them live.
For other hosting providers, consult their documentation or reach out to their support team for guidance on clearing the cache.
How to Fix Common Caching Problems
Even after trying various cache-clearing methods, you might still face stubborn caching issues that prevent your website updates from appearing. These problems can be frustrating, especially when the usual fixes don’t seem to work. Below are practical steps to troubleshoot and resolve the most common caching problems encountered by WordPress users.
Fix When Changes Don’t Show on the Website
If your website changes aren’t showing up despite clearing the WordPress cache, the issue might lie in one of the multiple caching layers. To resolve this, you’ll need to address each layer systematically.
Start by clearing your browser cache. A quick refresh won’t cut it – perform a hard refresh (Ctrl+Shift+R or Cmd+Shift+R) or use incognito mode to check if the changes appear. If incognito mode works but your regular browser doesn’t, the problem is browser-related.
Next, clear all plugin caches. This includes page, object, database, and minification caches. Some plugins require you to clear these caches individually, so make sure you’ve addressed each type.
If the issue persists, check your hosting provider’s server-side cache. Many hosting providers, such as SiteGround, Bluehost, and WP Engine, have their own caching systems that operate independently of your plugins. Look for cache management tools in your hosting dashboard, often labeled as "Dynamic Cache", "Server Cache", or similar.
Another potential culprit is the CDN cache. If you’re using a CDN service like Cloudflare or MaxCDN, their servers might still be serving outdated files. Clear the CDN cache through their dashboard, keeping in mind that it might take a few minutes to several hours for the changes to propagate globally.
For particularly stubborn issues, disable all caching temporarily. Turn off caching plugins, server-side caching, and your CDN. If the changes appear immediately, you’ve identified caching as the root cause. Reactivate these systems one by one to pinpoint the specific source of the problem.
If none of these steps work, conflicts within caching plugins or themes could be the reason.
Fix Cache Plugin Conflicts
Cache plugin conflicts can lead to issues like broken layouts or even complete site crashes. These conflicts often arise when overlapping caching functions interfere with each other.
Plugin conflicts are a common cause. For example, using WP Super Cache alongside another optimization plugin that also handles caching, minification, or compression can lead to problems. Running both W3 Total Cache and a separate minification plugin, for instance, might result in JavaScript errors or broken CSS.
To identify conflicts, deactivate all plugins except your caching plugin and test your site. If everything works fine, reactivate the other plugins one by one, testing after each activation. Once you find the conflicting plugin, you’ll need to decide whether to disable it or adjust its settings to avoid overlap.
Theme conflicts can also cause problems, especially with themes that include built-in optimization features. Some premium themes have their own caching or minification systems that may clash with your caching plugin. Review your theme’s documentation to see if any performance features need to be disabled.
Server-level conflicts occur when your hosting provider’s caching system clashes with your plugin settings. For example, if your host uses Varnish caching and your plugin also handles page caching, you might experience inconsistent results. Contact your hosting support to determine what server-level caching is active and how to configure your plugins accordingly.
While troubleshooting, review error logs for clues. Look for PHP errors, memory issues, or timeout errors that might be linked to caching problems. Also, ensure all plugins and themes are up to date to avoid compatibility issues.
Keep Plugins and Themes Updated
Regular updates to plugins, themes, and WordPress core are essential for preventing caching problems. Updates often include fixes for compatibility issues, security patches, and performance improvements that directly affect how caching systems function.
Caching plugins need frequent updates to stay compatible with the latest WordPress versions and other plugins. An outdated caching plugin might fail to clear caches properly or conflict with newer features. Enable automatic updates for your caching plugins or check for updates weekly.
Themes also require updates to ensure they work smoothly with caching systems. An outdated theme might include caching headers or other settings that conflict with your caching plugin. Additionally, theme developers often optimize their code over time to improve compatibility.
WordPress core updates are equally important. Updates often include changes to caching APIs and security features, so your plugins and themes need to align with these updates. Running an outdated WordPress version can lead to conflicts with newer plugins.
To avoid risks, test updates in a staging environment before applying them to your live site. Many hosting providers offer staging environments where you can safely test plugin and theme updates. This allows you to catch any caching conflicts or other issues before they impact your visitors.
After applying updates, monitor your site carefully. Clear all caches and test your site to ensure pages load correctly, no errors appear in your caching plugin, and performance remains stable. If problems arise, you can roll back the updates and address specific issues before trying again.
Conclusion
Clearing your WordPress cache is a simple yet crucial step to ensure your visitors always see the most up-to-date version of your site while keeping everything running smoothly. This guide has walked you through various methods, so let’s quickly recap the key steps for maintaining optimal performance.
Plugins like WP Super Cache, W3 Total Cache, WP Fastest Cache, and LiteSpeed Cache make cache clearing incredibly easy with just a single click from your dashboard. These tools not only improve your site’s speed but also include automated features to minimize the need for manual upkeep.
For those times when plugins don’t quite do the trick, manual methods – such as using FTP, file managers, or WP-CLI – offer more precise control. These approaches are especially helpful when dealing with plugin conflicts or targeting specific cached files. Additionally, clearing caches on your CDN or server ensures updates are reflected across all regions.
If you’re troubleshooting caching issues, keep in mind that problems often stem from a combination of browser cache, outdated software, or plugin conflicts. By addressing these factors one by one and ensuring your WordPress core, themes, and plugins are always up to date, you can avoid most cache-related headaches before they even start.
FAQs
How can I tell if I need to clear my WordPress cache?
If your website is displaying outdated content, recent design updates aren’t showing, or the site feels sluggish, it might be time to clear your WordPress cache. This simple step can be especially useful when troubleshooting problems or rolling out major updates, as it ensures visitors are seeing the latest version of your site. Regularly clearing your cache can also help improve site performance and ensure users always get accurate, up-to-date content.
Will clearing the cache harm my website’s performance or data?
Clearing your cache doesn’t delete your website’s data or content, so there’s no need to worry about losing anything important. However, you might notice a slight dip in performance right after clearing it. This happens because the browser or server has to rebuild the cache, which can take a bit of time.
That said, clearing the cache has its perks. Over time, it can boost performance by getting rid of outdated or corrupted files that might be slowing things down. Plus, it ensures your visitors are always seeing the latest version of your site, avoiding any hiccups caused by stale cached data.
How often should I clear my WordPress cache to keep my site running smoothly?
To keep your WordPress site running smoothly and displaying updates as intended, it’s a smart idea to clear your cache once a week. If your site is updated often – like a blog or a news platform – you might need to clear it daily or even several times a day to ensure your content stays current and accessible.
For websites with heavy traffic, keeping an eye on performance and clearing the cache more often can help avoid slow loading times and provide visitors with a seamless browsing experience. Regular cache clearing doesn’t just boost performance; it also makes sure your updates are immediately visible to your audience.