Updating PHP for your WordPress site is essential for better performance, security, and compatibility. Here’s the process in simple steps:
- Why Update PHP?
- Faster site speed: PHP 8.0+ provides up to 20% better performance.
- Improved security: Older PHP versions (like 7.4) no longer receive updates, leaving your site vulnerable.
- Compatibility: Newer PHP versions work better with modern themes and plugins.
- Risks of Staying on Old PHP
- Slower performance and higher server load.
- Security vulnerabilities due to lack of updates.
- Plugins and themes may stop working.
- How to Update Safely
- Backup Your Site: Use plugins like UpdraftPlus or your hosting provider’s tools.
- Update WordPress, Plugins, and Themes: Ensure all components are current to avoid compatibility issues.
- Check Compatibility: Use tools like PHP Compatibility Checker to identify potential problems.
- Test on Staging: Create a staging site to safely test updates before applying them live.
- Update PHP in Hosting Panel: Most hosts let you easily switch PHP versions via cPanel, hPanel, or similar tools.
- Test Again: After updating, check your site for errors and ensure everything works.
- Best PHP Version for 2025
Use PHP 8.2 or newer for optimal performance and security. Avoid unsupported versions like 7.4. - Troubleshooting Issues
- Disable plugins/themes to find conflicts.
- Check error logs for detailed information.
- Roll back PHP temporarily if needed and work on fixes.
Regular maintenance, including PHP updates, is key to keeping your site secure and running smoothly. Always test updates in a staging environment and monitor your site after changes to ensure stability.
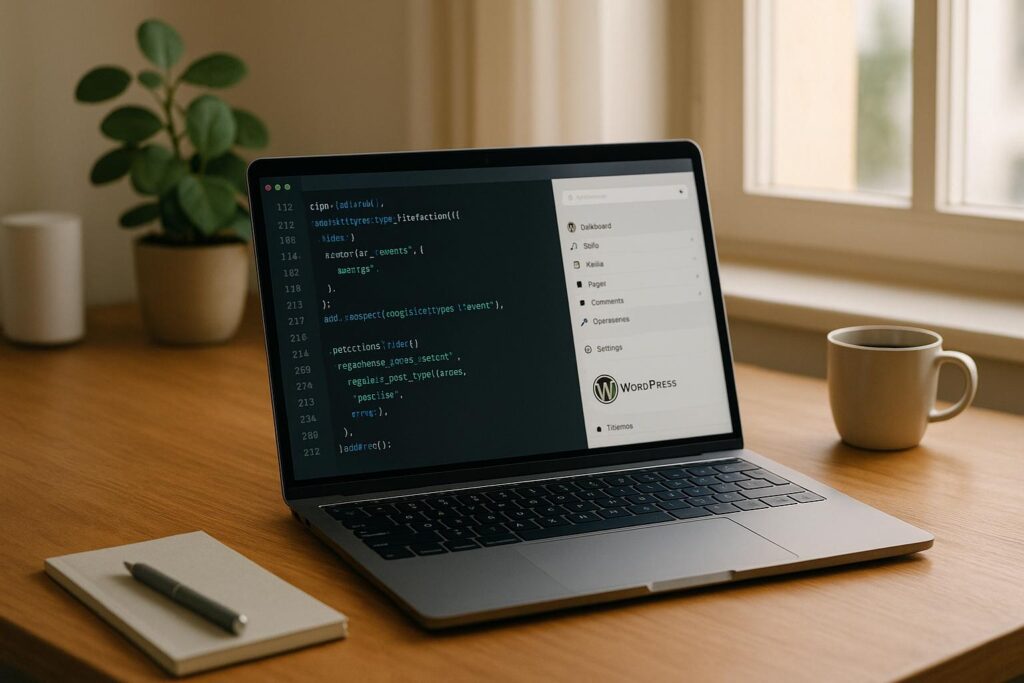
How to update PHP version for WordPress in cPanel (Step-by-step guide)
Getting Your WordPress Site Ready for PHP Update
A little preparation can save you from big headaches when updating PHP on your WordPress site. The key steps? Back up your site, update its components, test for compatibility, and use a staging site to catch potential issues before they affect your live site. Here’s how to do it right.
Create a Complete Site Backup
Before making any changes, ensure you have a full backup of your site. This backup should include all WordPress files – themes, plugins, uploads – and your database. That way, if anything goes wrong, you can restore your site without losing data.
Use plugins like Duplicator or UpdraftPlus to automate the process, or check if your hosting provider offers a one-click backup solution. Once the backup is complete, double-check that it’s functional and stored in a safe location.
Update WordPress, Themes, and Plugins First
Outdated WordPress components are often the root of compatibility problems. Update your WordPress core, themes, and plugins before switching to a newer PHP version. You can do this directly from your WordPress dashboard.
While updating, take a moment to review the changelogs for each plugin or theme to see if they’ve addressed PHP compatibility. If a plugin or theme hasn’t been updated in a long time, consider replacing it with a more actively maintained alternative.
Test PHP Compatibility
Before diving into the update, run a PHP compatibility check using tools like the PHP Compatibility Checker plugin. This tool scans your site for deprecated functions and other compatibility issues. Review the results carefully, and consult the documentation for any plugins, themes, or custom code flagged in the report.
Once you’ve resolved any issues, you’re ready to move on to testing in a safer environment.
Create a Staging Site for Testing
A staging site lets you test the PHP update without risking your live site. Many hosting providers offer one-click staging environments, but you can also use plugins like WP Staging or set up a local environment or subdomain.
After updating PHP on the staging site, thoroughly test your site’s functionality. Check critical features like contact forms, e-commerce processes, user registration, and any custom components. Don’t forget to monitor your browser for errors and review your error logs for any hidden issues.
How to Update PHP Step by Step
Now that your site is backed up and compatibility is confirmed, it’s time to update PHP. While the exact process may differ slightly depending on your hosting provider, most control panels make this task relatively simple. Below, you’ll find instructions for common hosting platforms and tips on selecting the ideal PHP version for 2025.
Update PHP in Your Hosting Control Panel
Most hosting providers offer user-friendly tools to update PHP. Here’s how to do it on popular platforms:
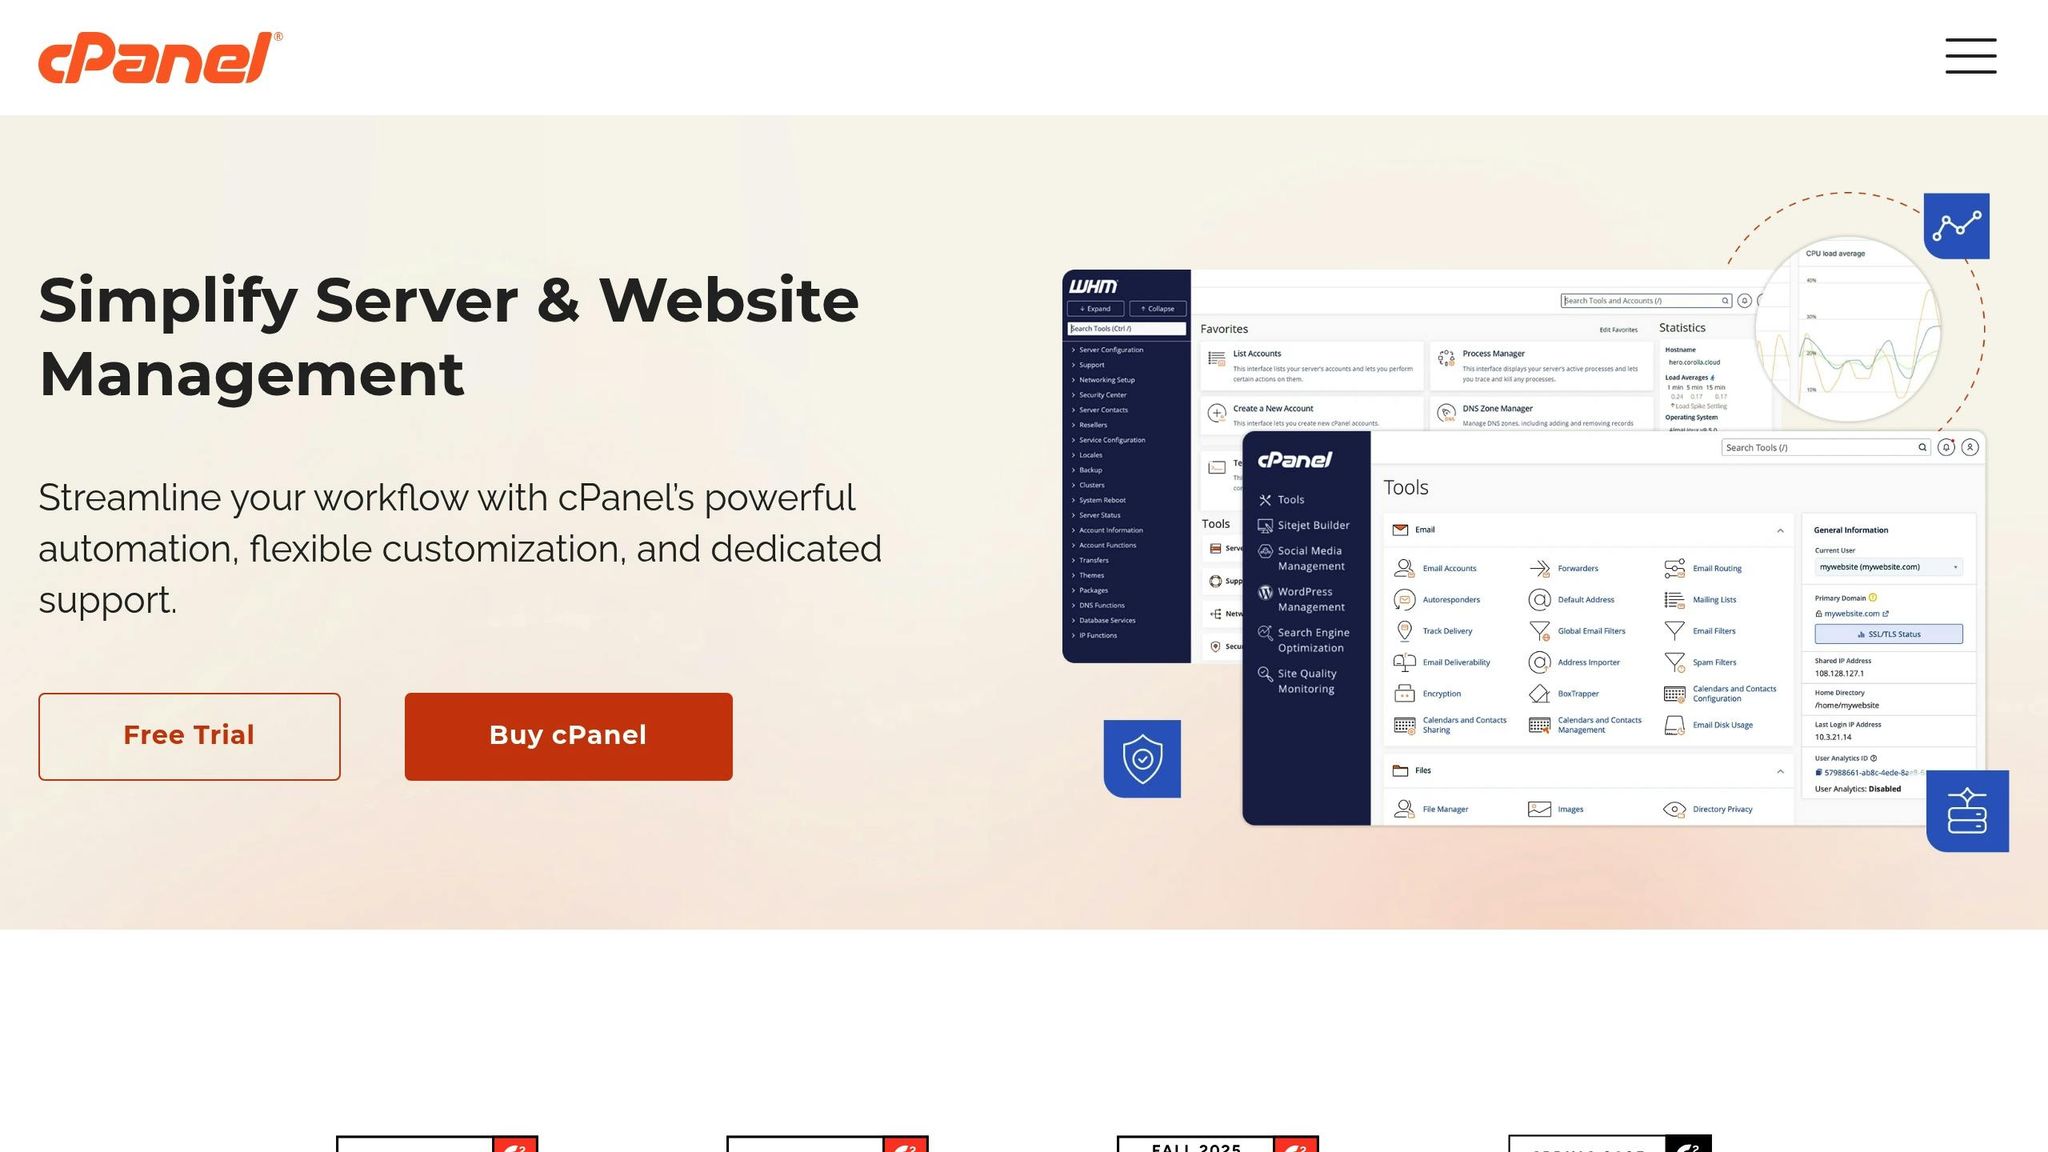
- cPanel: Log into your hosting account and navigate to the Software section. Look for options like “Select PHP Version” or “MultiPHP Manager.” You’ll see your current PHP version and a dropdown menu of available versions. Select the desired version and confirm your choice.
- hPanel (used by Hostinger): Go to the Advanced section and click on PHP Configuration. Choose your new PHP version from the dropdown menu and click Update to save the changes.
- MyKinsta: Access the WordPress Sites section, select your site, and go to the Tools section. Update your PHP version under PHP settings and save.
- GoDaddy: Open your hosting account under the My Products section. Click on Settings and find the option to change your PHP version.
- Bluehost: Locate the PHP Version section in your control panel. Select the new version and confirm.
Once you confirm the change, most hosting providers will apply the update within minutes. If your hosting setup doesn’t match any of these, refer to the next section for guidance.
Handle Different Hosting Setups
Not all hosting environments use standard control panels. If you’re working with custom setups, VPS, or dedicated servers, check your hosting provider’s documentation or contact their support team for assistance. Experienced users can use SSH or command-line tools with package managers to update PHP manually – but if you’re unsure, it’s better to seek help.
For shared hosting customers, the process is usually straightforward, but be aware that some budget hosting plans may limit available PHP versions or require an upgrade to access newer ones.
Best PHP Version to Use in 2025
After updating PHP, it’s crucial to choose the right version for your site. For WordPress sites in 2025, PHP 8.2 or higher is recommended. This version delivers better performance, stronger security, and ongoing support. Avoid older versions like PHP 7.4 or earlier, as they no longer receive updates and could leave your site vulnerable to security risks.
Before finalizing the update, ensure your WordPress core, themes, and plugins are compatible with the new PHP version. If you’re using older or custom-coded features, you might want to start with PHP 8.1 and upgrade further after confirming compatibility.
Once the update is complete, keep an eye on your site’s error logs and performance metrics to ensure everything is running smoothly. If you encounter issues, you can always revert to the previous version while troubleshooting.
sbb-itb-f80d703
Testing Your Site After PHP Update
After updating your PHP version, testing your site is a crucial step to ensure everything runs smoothly. Even if the update appeared seamless, compatibility issues can sometimes show up in unexpected areas. Testing helps you catch these problems before your visitors do.
Check Your Site’s Front and Back End
Start by clearing your browser and site caches. Then, thoroughly inspect key areas of your site. Visit important pages like your homepage, about page, contact page, and blog posts. Test interactive features such as contact forms, search bars, navigation menus, and e-commerce functionalities. Pay extra attention to any custom features or widgets you’ve added over time.
Don’t forget to check the admin side of your site. Test essential functions like creating posts, uploading media, and navigating through sections like Users, Media, and Appearance. These areas can sometimes reveal issues that aren’t immediately visible on the front end.
Leverage the WordPress Site Health tool, which you can find under Tools > Site Health in your admin dashboard. This tool provides insights into PHP-related issues and server problems that might not be obvious during your manual checks.
If you notice any inconsistencies during your testing, it’s time to troubleshoot common PHP update errors.
Fix Common PHP Update Errors
Should you encounter issues, here’s how to address them. The most frequent problems include the “white screen of death” and fatal errors caused by plugin or theme conflicts.
Plugin and theme conflicts are the usual suspects when it comes to PHP update errors. To identify the problem, deactivate all plugins and switch to a default theme like Twenty Twenty-Four. Reactivate plugins one at a time, testing your site after each activation. This method pinpoints the specific plugin causing the issue. Once identified, check for updates from the developer or search for alternative plugins that offer similar functionality.
You can also check your hosting control panel’s error logs for more detailed information. These logs often highlight the specific file and line number causing the issue, which can be invaluable for troubleshooting – especially if custom code is involved.
Roll Back PHP Version When Needed
If troubleshooting doesn’t resolve the issues, rolling back to your previous PHP version is a temporary but effective solution. Most hosting control panels make this process simple.
Go to the same PHP configuration section where you performed the update. Select your previous PHP version from the dropdown menu and confirm the change. The rollback usually takes effect within minutes, similar to the original update process.
After rolling back, clear your site’s cache and test your site again to ensure it’s functioning properly. Use this time to gather detailed error information, including specific messages, affected pages, and any problematic plugins or themes. This data will be helpful when reaching out to plugin developers, theme authors, or a developer for custom code fixes.
While using an older PHP version temporarily resolves the issue, it’s important to address compatibility problems promptly. Check for updates to plugins or themes that may support the newer PHP version. Developers often release fixes within a few weeks of major PHP updates, so staying informed can save you time and effort.
Avoid leaving your site on an outdated PHP version for too long. Older versions no longer receive security updates, which can expose your site to vulnerabilities. Set a clear timeline to resolve compatibility issues and retry the PHP update, whether through updated plugins, theme changes, or custom development work.
Keeping PHP and WordPress Updated Long-Term
Keeping your PHP and WordPress setup updated isn’t a one-time task – it requires ongoing attention to ensure your site stays secure, functional, and fast. Regular maintenance is crucial to avoid compatibility issues and protect your site from vulnerabilities.
Update PHP and WordPress Components Regularly
Staying on top of updates for WordPress core, themes, plugins, and PHP is essential. Instead of delaying updates, aim to check for them on a consistent schedule – monthly or quarterly, depending on how complex your site is. Always start by updating WordPress components (core, themes, plugins) before moving on to PHP. These updates can be managed directly from your WordPress dashboard.
Why follow this order? It simplifies troubleshooting. When everything is updated at once, pinpointing the source of an issue becomes tricky. Additionally, postponing updates can leave your site open to security risks.
Understanding PHP’s release schedule can also make planning easier. Each PHP version gets two years of active support and one more year for critical security updates. Hosting providers often stop supporting outdated PHP versions after their end-of-life. To avoid last-minute scrambling, set reminders for six months before a PHP version’s support ends. This gives you time to prepare for an upgrade.
Always Test Updates in Staging First
A staging environment is your safety net during updates. It’s essentially a copy of your live site where you can test changes without impacting your visitors. Many hosting providers include staging tools, or you can use plugins like WP Staging to create one.
Here’s how to make the most of your staging environment:
- Clone your live site to create an exact replica.
- Apply updates to the staging site first.
- Test all features, plugins, and functionality thoroughly.
Once everything checks out, push the updates to your live site. This process helps you catch potential issues – like plugin conflicts or performance drops – before they affect your users. Remember, every WordPress site is unique, so testing updates individually is essential. A solution that works for one site might not work for another.
After completing the updates, keep your staging environment active for future testing and troubleshooting. It’s an invaluable tool for maintaining your site’s reliability.
Watch Your Site’s Performance After Updates
Once updates go live, it’s time to monitor your site closely. Look at both how it performs for users and what’s happening behind the scenes. Sites running on the latest PHP versions often see performance boosts of 20–30% compared to older versions. Keep track of metrics like page load times, server response times, and database query efficiency to identify any issues early.
Enable error logging to quickly spot compatibility problems with plugins or themes. Continue monitoring for at least one to two weeks after major updates to ensure everything remains stable.
It’s also helpful to maintain a detailed log of updates. Record dates, components updated, any issues encountered, and how they were resolved. This documentation can save you time when troubleshooting or planning future updates.
For the best results, consider a hybrid approach: enable automatic updates for minor security fixes while manually testing major updates. Pair this with daily automatic backups or backups scheduled before updates. That way, you’ll always have a fallback if something goes wrong.
Conclusion: Successfully Updating PHP for WordPress
Updating PHP for your WordPress site doesn’t have to be complicated. By sticking to the steps outlined in this guide, you can upgrade your site smoothly while steering clear of issues like downtime or broken features.
Preparation and testing are the cornerstones of a successful PHP update. Taking the time to create full backups, update WordPress core files and plugins, and test changes in a staging environment isn’t just a good idea – it’s a must. These steps act as a safety net, helping you avoid the headache of restoring a site after something goes wrong.
The rewards of updating are hard to ignore. Websites running PHP 8.0 or newer can experience performance boosts of up to 50% compared to older versions. Plus, with PHP 7.4 reaching its end-of-life in November 2022, upgrading isn’t just about speed – it’s also critical for keeping your site secure.
The secret to staying ahead? Make PHP updates a regular part of your maintenance routine rather than a last-minute scramble. Use staging environments to test updates, keep an eye on your site’s performance, and always have a rollback plan in place. If you hit a snag, reaching out to your hosting provider or tapping into resources like WPCOKE can help you troubleshoot and get back on track.
FAQs
What issues can occur after updating PHP on a WordPress site, and how can you fix them?
After updating PHP on your WordPress site, you might run into issues like plugin or theme conflicts, site errors (like a 500 Internal Server Error), or deprecated functions. These hiccups usually happen when older code doesn’t work well with the updated PHP version.
Here’s how you can tackle these problems:
- Keep plugins and themes up to date: Make sure all your plugins and themes are updated to their latest versions either before or after performing the PHP update.
- Check for compatibility issues: Use tools like PHP Compatibility Checker to spot any potential conflicts ahead of time.
- Turn on debugging: Enable WordPress debug mode to identify specific errors and address them directly.
- Restore from a backup: If the update causes major disruptions, revert to a backup of your site while you work on fixing the issues.
To minimize risks, always test PHP updates in a staging environment before applying them to your live site. This way, you can catch and fix problems without affecting your visitors.
How can I make sure my custom-coded features work with the latest PHP version?
To keep your custom-coded features working smoothly with newer PHP versions, start by testing your code in a staging environment. This way, you can spot and fix potential problems without risking your live site’s performance.
Make sure your code aligns with modern PHP standards and best practices. Look out for deprecated functions or syntax changes introduced in the updated PHP version and replace them with supported options. Tools like PHP Compatibility Checker can be a big help in identifying these issues.
Finally, always create backups of your site and database before making updates. This ensures you can quickly restore everything if something doesn’t go as planned.
What should I do if my web host doesn’t support the latest PHP version?
If your hosting provider doesn’t support the latest PHP version, don’t worry – there are steps you can take to keep your WordPress site secure and running smoothly:
- Reach out to your hosting provider: Contact their support team to check if they plan to update their PHP versions or if they can suggest alternative solutions for your site. Sometimes, they might have a workaround or timeline for updates.
- Switch to a new hosting provider: If your current host isn’t able to meet your needs, it might be worth considering a move to a provider that supports the latest PHP versions. Many hosting services specialize in staying up-to-date with WordPress requirements.
- Use the highest PHP version available: If upgrading to the latest version isn’t possible, make sure to use the newest PHP version your host supports. This will help maintain your site’s security and compatibility as much as possible.
Running your site on an outdated PHP version can expose it to security risks and performance problems. Addressing this issue sooner rather than later is crucial for keeping your WordPress site in good shape.