Restricting media access by user roles in WordPress is a smart way to protect sensitive files, streamline file management, and improve security. By default, WordPress lacks detailed media access controls, which can expose files to users who shouldn’t have access. Adding plugins like WP Media Folder or PublishPress Permissions allows you to limit access based on user roles, ensuring privacy and better organization.
Key Takeaways:
- WordPress doesn’t offer built-in media access restrictions.
- Plugins are essential to control who can view, edit, or upload files.
- Regularly review user permissions to maintain security.
- Test restrictions using different user roles and secure direct file URLs.
Top Plugins for Media Access Control:
- WP Media Folder: Organizes files into folders and restricts access by role ($49/year).
- PublishPress Permissions: Offers granular file-level restrictions (free & Pro options).
Both plugins block direct URL access, improving file security. Choose based on your needs: folder organization (WP Media Folder) or detailed control (PublishPress Permissions). Regular audits and updates are critical to maintaining a secure setup.
How to Limit Access by User Roles in the WordPress Media Library
Prerequisites and Preparation
Before diving into restricting media access on your WordPress site, it’s crucial to ensure everything is updated and secure. Proper preparation not only saves time but also helps you avoid potential headaches during the setup process.
Verify Administrative Access
To set up media access restrictions, you need Administrator-level privileges on your WordPress site. This access is vital because you’ll be installing plugins, tweaking user permissions, and possibly adjusting core WordPress settings that control how media files are managed.
To check if you have the right access, log in to your WordPress dashboard and go to Users > All Users. Look for your username in the list – if "Administrator" appears under the Role column, you’re good to go. If not, you’ll need to reach out to the site owner or another admin to upgrade your permissions.
While you’re at it, consider using your administrative access to create test accounts. These accounts will come in handy later for verifying that your media access restrictions are working as intended.
Once you’ve confirmed your access, move on to securing your site by updating it and creating a backup.
Prepare Your WordPress Environment
Keeping WordPress up to date is a must for both security and compatibility. Running older versions of WordPress, themes, or plugins can lead to issues when you install new media management tools. Plus, outdated software often comes with vulnerabilities that could put your site at risk.
Head to Dashboard > Updates and apply any updates for WordPress core, active themes, and plugins. This ensures everything is running smoothly and securely.
Next, back up your site to protect your data. Tools like UpdraftPlus and BackupBuddy are great options, especially for U.S.-based users. These plugins support MM/DD/YYYY date formats and offer storage options with American cloud services. They also let you schedule automatic backups and save them both locally and externally for added peace of mind.
Make sure your backup includes both your site files and database. If something goes wrong during the setup, you can restore your site without losing any content or settings.
With your site updated and backed up, the next step is to understand how WordPress user roles work so you can apply restrictions effectively.
Understand WordPress User Roles
WordPress uses a hierarchical user role system that defines what each user can do on your site. Familiarizing yourself with these roles is key to setting up targeted media restrictions.
Here’s a quick breakdown of default roles:
- Administrators: Full access to everything, including all media files.
- Editors: Can manage all media files but can’t change site settings.
- Authors: Limited to uploading and managing their own media files.
- Contributors: Cannot upload media files at all.
- Subscribers: No access to media files.
Understanding these roles helps you pinpoint where restrictions are needed. For instance, if you’re running a client portal and want Authors to only access their own project files, you’ll need to set up extra controls beyond WordPress’s default capabilities.
Methods to Restrict Media Access by User Roles
If you’re managing a WordPress site and need to limit media access based on user roles, plugins are your go-to solution. WordPress, by default, doesn’t offer built-in role-based media restrictions. This means any uploaded file is publicly accessible if someone knows its URL. To effectively enforce permissions, you’ll need specialized plugins. Here’s how you can use two popular options to secure and organize your media library.
Using WP Media Folder Plugin
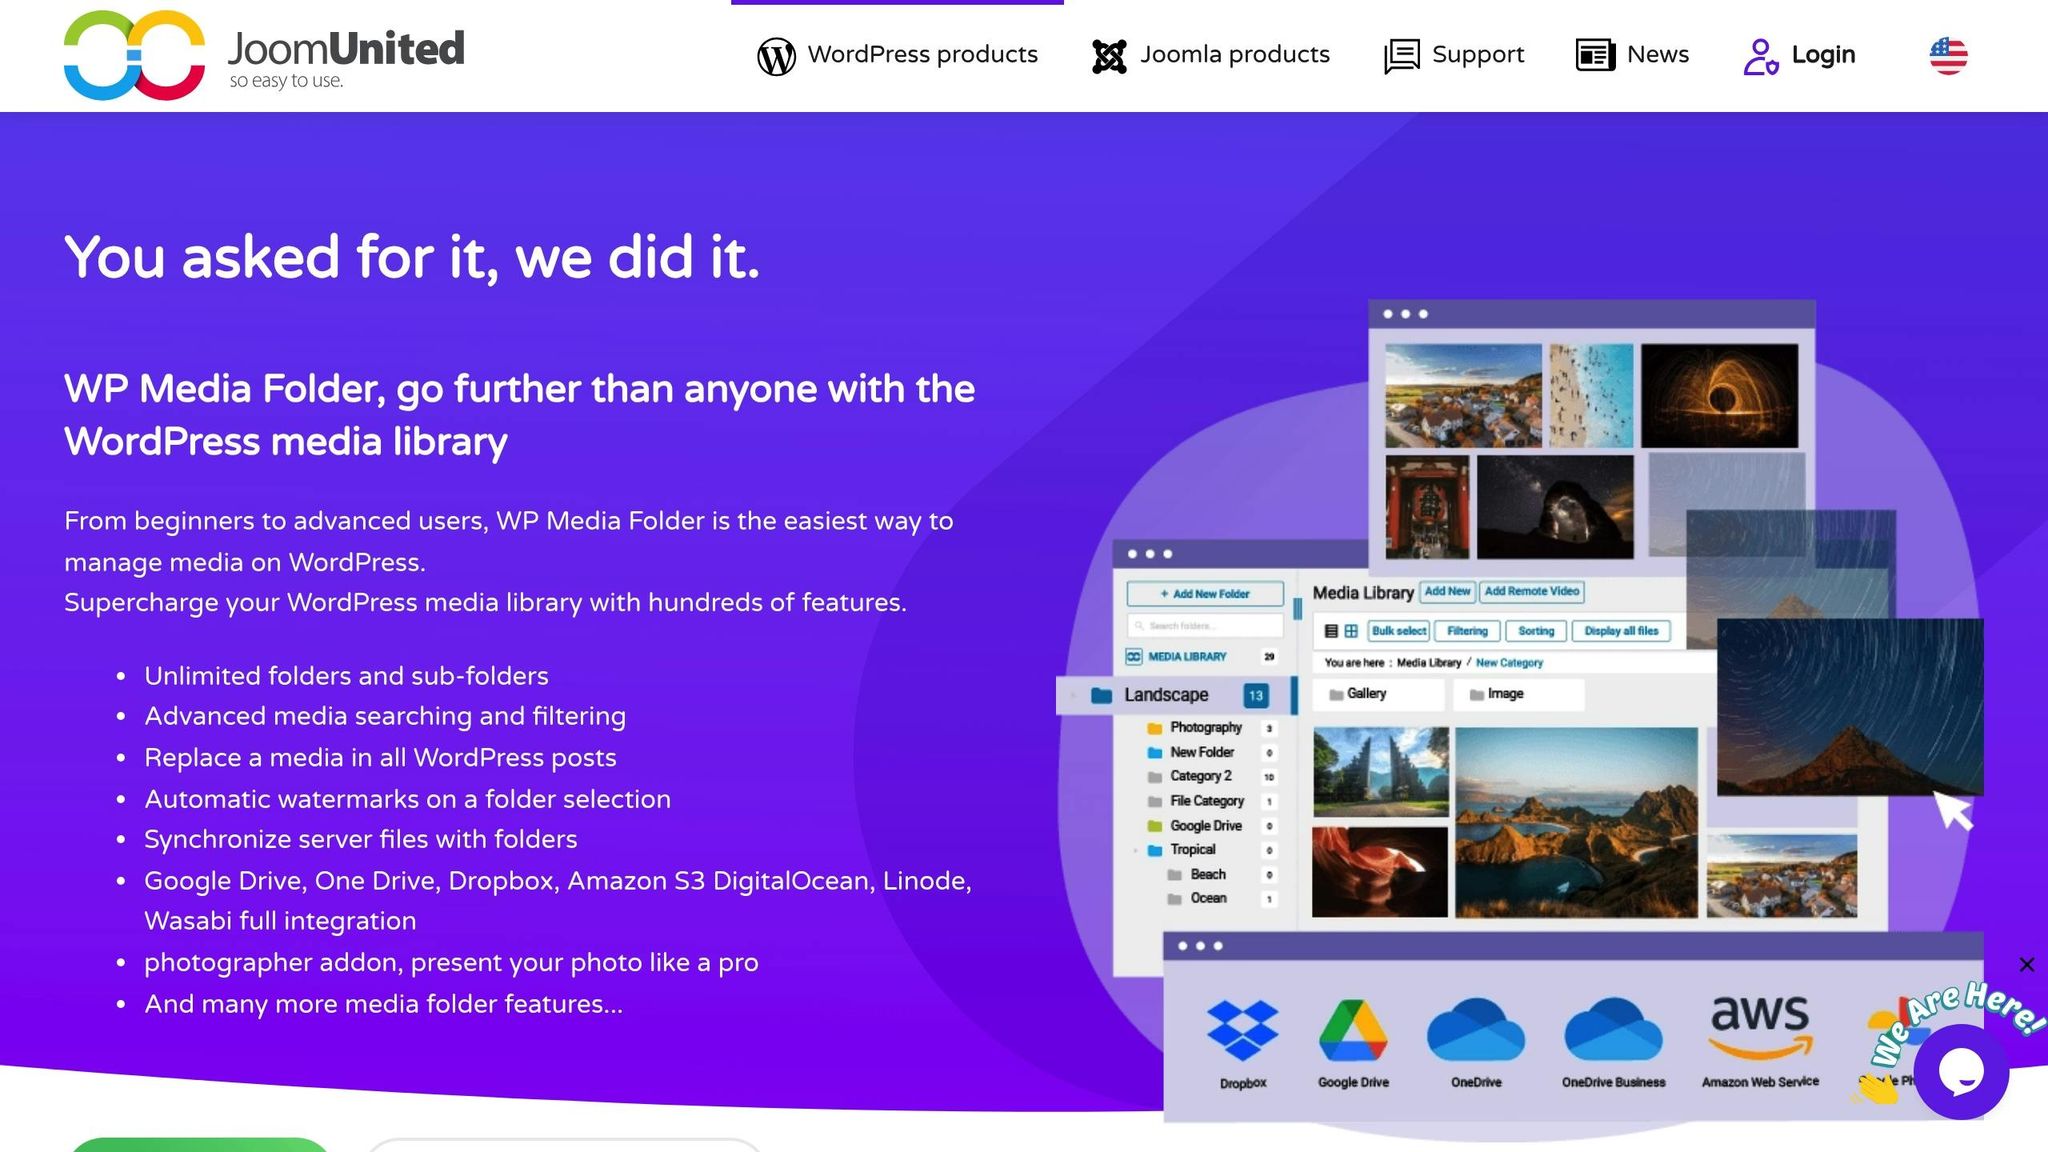
WP Media Folder simplifies media organization and access control with a folder-based system. Priced at $49 per year, it features an intuitive drag-and-drop interface that makes managing files a breeze.
To set it up:
- Go to Plugins > Add New, search for WP Media Folder, and click Install Now. Once activated, your Media Library will display a new folder structure.
- Enable access controls by navigating to Media > Settings > WP Media Folder.
- The plugin automatically creates folders for new user roles. You can also create custom folders by clicking the Add Folder button in the Media Library. Name these folders based on your needs, like "Design Team" or "Client Projects."
- Assign folders to specific user roles by selecting the folder, clicking the Permissions tab, and choosing which roles can view, upload, or manage files.
For example, a marketing agency could create separate folders for Design, Content, and Sales teams. Each team would only access its folder, while administrators retain full access. This setup not only improves workflow but also minimizes accidental edits and enhances security.
Using PublishPress Permissions Plugin
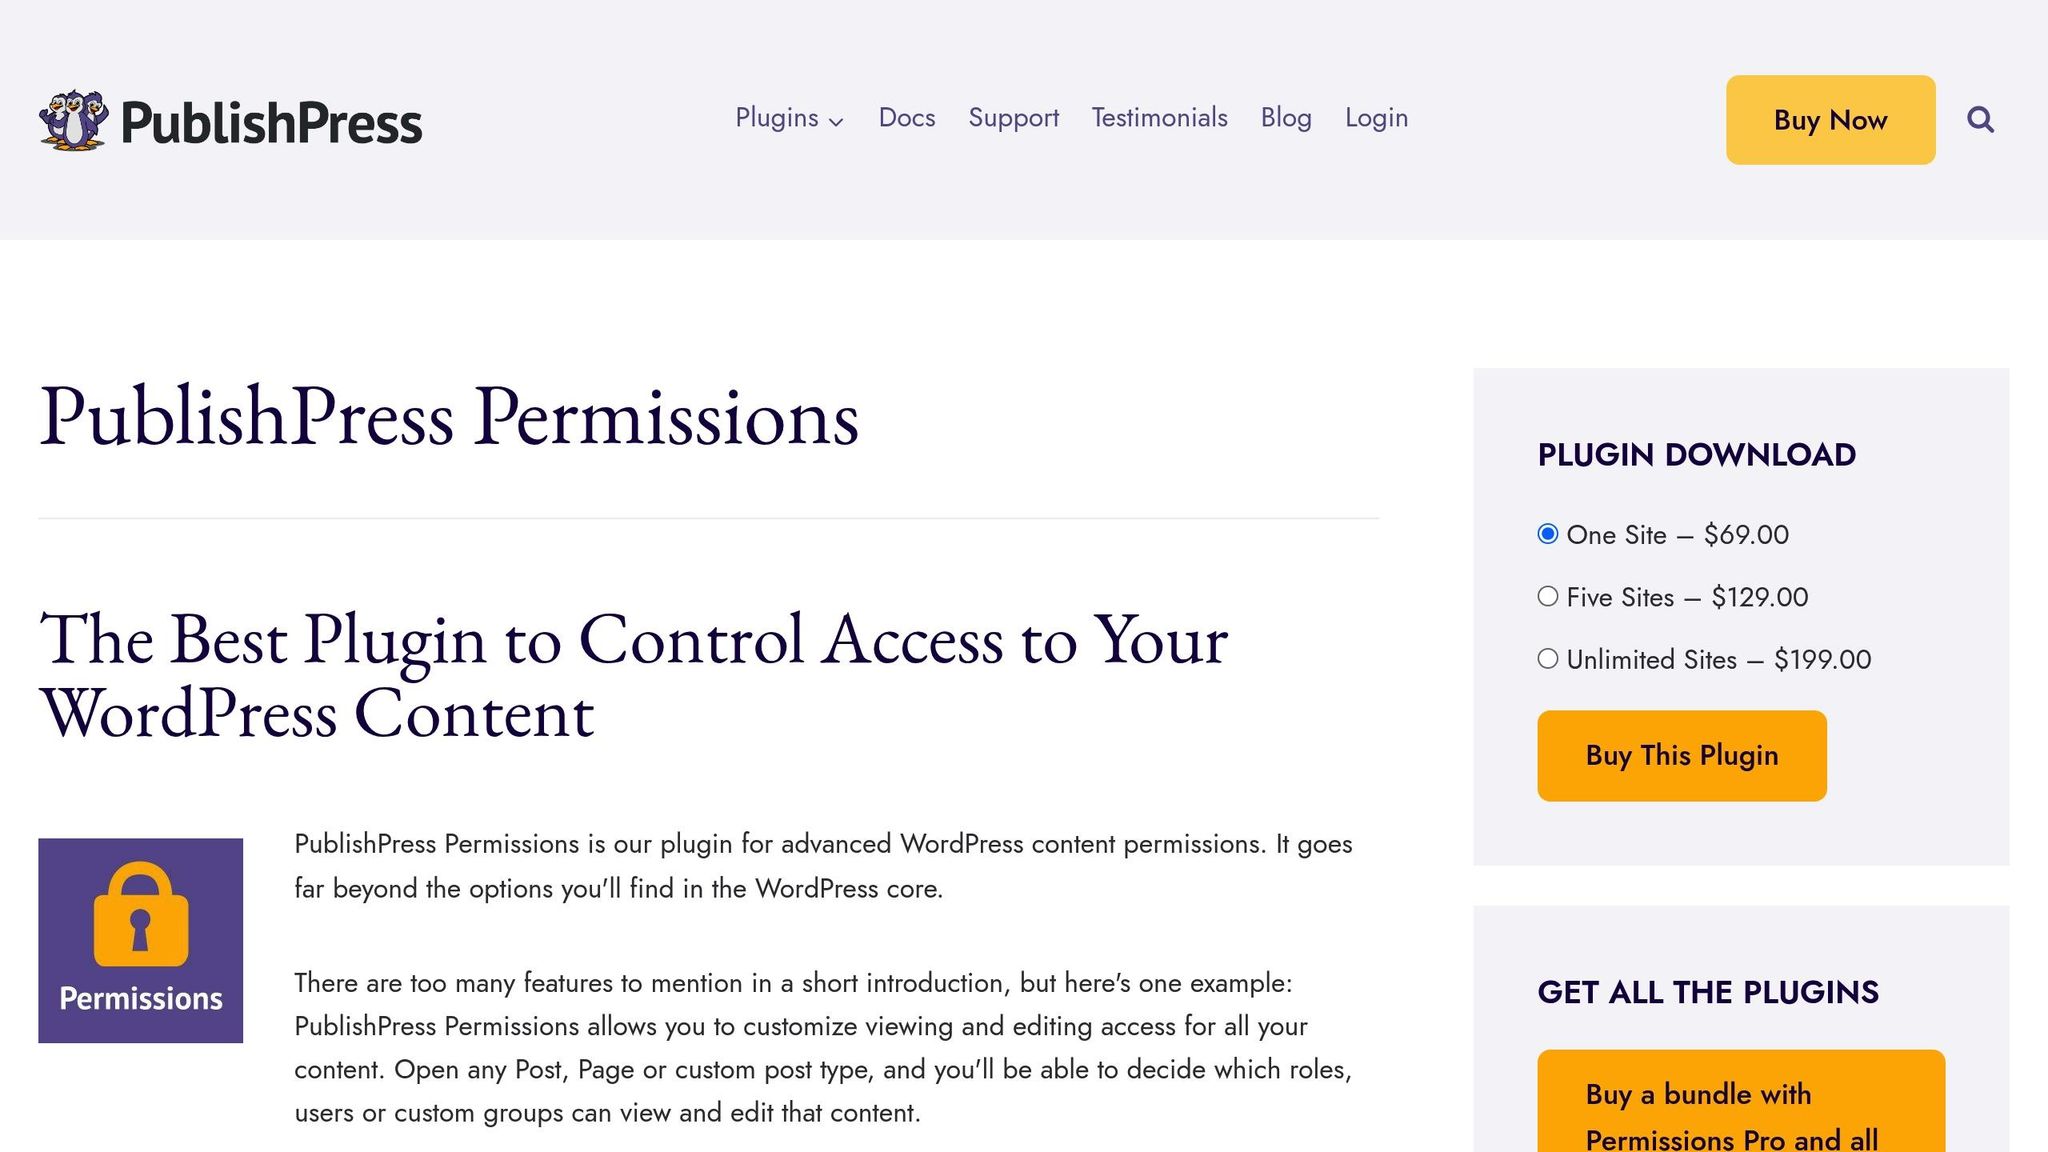
PublishPress Permissions offers detailed control, allowing you to restrict access to individual media files rather than entire folders. It comes in both free and Pro versions, with advanced features like customizable notification messages available in the Pro version.
To get started:
- Install the plugin and go to Permissions > Settings > Core. Enable the "Media" option to activate media-specific permission controls.
- To restrict access to a single file, edit the media item and uncheck roles in the "Permissions: Read this media" section. You can also control who can edit or delete the file using the "Permissions: Edit this media" setting.
- For bulk management, navigate to Permissions > Groups > [role name]. Set the Post Type to Media, choose an operation (Read or Edit), and use the "Limit to" option to select specific files.
This plugin is particularly useful for membership sites where you want to ensure only premium members can access certain files. The Pro version also includes "Teaser" messages, which display a custom notification to users without access, explaining why they can’t view the file. This feature enhances the user experience by providing clarity instead of a generic error.
Comparing Plugin Options
Deciding on the right plugin depends on your needs, technical expertise, and budget. Here’s a quick comparison:
| Feature | WP Media Folder | PublishPress Permissions | Advanced File Manager |
|---|---|---|---|
| Ease of Use | High – drag-and-drop interface | Moderate – more detailed setup | Moderate – requires shortcodes |
| Granularity | Folder/User Role level | File/User Role level | Folder/User Role level |
| Compatibility | Works with major page builders | Integrates with standard roles | Check documentation |
| Cost | $49/year | Free/Pro versions available | Free |
WP Media Folder is perfect for teams looking for straightforward folder organization and quick implementation, making it ideal for non-technical users. On the other hand, PublishPress Permissions excels in scenarios requiring precise control over individual files, like membership sites or client portals.
Both plugins also block direct URL access, adding an extra layer of security. When choosing, think about how your team interacts with media files. If you need simple departmental organization, WP Media Folder is a great fit. For more detailed control and custom user messaging, PublishPress Permissions is the better choice.
Up next, we’ll dive into best practices for managing media access.
sbb-itb-f80d703
Best Practices for Managing Media Access
Setting up restrictions is just the beginning – ongoing management is key to avoiding security risks.
Once you’ve verified user roles, take it a step further by limiting upload capabilities to keep your media files secure.
Review User Roles and Permissions Regularly
Perform quarterly audits to adjust roles and ensure permissions stay appropriate. Changes in staff, completed projects, or role transitions often leave outdated access permissions in place, which can create vulnerabilities.
During these reviews, make a list of all current user roles and their permissions. Pay close attention to custom roles or any changes introduced by plugins that might have altered your original setup. Regularly checking these settings helps ensure your system remains secure and up to date.
Audits not only block unauthorized access but also reduce confusion and the chance of accidental policy violations. To make this process easier, consider using an audit log plugin like WP Activity Log. This tool tracks changes to user roles and media access settings, providing a detailed log for compliance and troubleshooting.
Limit Media Upload Rights
Restrict the "upload_files" capability to trusted roles such as Administrators and Editors. Lower-level roles like Contributors and Subscribers typically don’t need to upload files. Limiting this capability helps prevent unauthorized or harmful content from entering your media library.
Use a role editor plugin to fine-tune user capabilities and remove upload permissions for roles that don’t need them. This is especially useful for membership sites, client portals, or any WordPress setup where multiple users have accounts but don’t require media upload access.
After making changes, review your settings regularly. Set a monthly reminder to ensure upload permissions remain properly restricted, especially after major system updates.
Monitor Plugin Compatibility and Updates
Enable automatic updates for security patches, but always test major updates in a staging environment first. Outdated plugins or conflicts between plugins can disrupt your media access controls, leaving sensitive files exposed.
Stay informed about developer updates and review changelogs for any adjustments to permission controls. Developers sometimes alter how permissions function between versions, so keeping an eye on these updates is crucial.
Common problems with outdated plugins include lost access restrictions, conflicts that cause errors, and unpatched security vulnerabilities. Testing plugin compatibility before updating WordPress core or making significant plugin changes can prevent these issues. This ensures your carefully configured media restrictions continue to work as intended.
For more tips on WordPress security and customization, resources like WPCOKE offer tutorials and insights to help you stay on top of evolving media management techniques.
Regular reviews and updates are essential to maintaining strong security over time.
Troubleshooting Common Issues
Even with a solid setup for media restrictions, issues can still pop up. These problems often stem from plugin conflicts, misconfigurations, or server settings that bypass WordPress security. Here’s how to tackle the most common challenges.
Resolving Plugin Conflicts
One of the biggest culprits behind broken media restrictions is plugin conflicts. When multiple plugins try to manage the same functionality, they can clash and cause unexpected behavior.
For instance, cache and security plugins might serve outdated pages or override access controls. A good first step is to disable all plugins except the one managing media restrictions. Then, reactivate your plugins one at a time, testing the media restrictions after each activation. This process will help you pinpoint the conflicting plugin.
Sometimes, theme-specific plugins or page builders bring their own media handling features, which can interfere with restriction plugins. If you find a conflict, review the settings for both plugins. Look for overlapping features like "media security", "file protection", or "user access controls." Tweaking these options might resolve the issue. If not, reach out to the plugin developers for advice or potential fixes.
Testing Media Access Restrictions
Testing is key to ensuring your restrictions work properly for all user roles. Create test accounts for each role you want to evaluate – Administrator, Editor, Author, Contributor, and Subscriber. Log in as each role to verify the restrictions.
Check both the WordPress dashboard’s media library and direct file access. When logged in as a restricted user, try to view, download, or access media files. Restricted users should see an error message or teaser instead of the actual file.
To avoid cached sessions affecting your tests, use incognito mode. Also, confirm that roles without upload permissions can’t add new media files. Keeping a simple spreadsheet to document your test results can make it easier to spot discrepancies after future updates or changes.
Preventing Direct File URL Access
After testing user roles, focus on securing direct file URLs. This step is crucial because even if files are hidden in the dashboard, unauthorized users can still access them by entering the file’s direct URL in a browser.
To close this gap, update your .htaccess file to block unauthorized access to the uploads directory. For example, you can add rules to deny access to the /wp-content/uploads/ directory for unauthenticated users or redirect them to a login page. Some media restriction plugins also include built-in URL protection – enable features like "private media folders" or "require login for file access" if available.
Once you’ve updated .htaccess, test your setup by attempting to access a restricted URL in incognito mode. If you can still access the file without logging in, clear your browser and server caches and try again. If the problem persists, check your server logs, as some updates may override .htaccess rules. Be sure to re-test your URL protection after any major WordPress or plugin updates.
For more detailed guidance on troubleshooting and advanced security tips, check out practical resources on WPCOKE.
Conclusion and Key Takeaways
Limiting media access based on user roles not only strengthens your WordPress site’s security but also simplifies content management. Tools like WP Media Folder, PublishPress Permissions, and server-level configurations make it easier to control who can view, download, or edit your media files.
These restrictions go beyond basic security. They help meet compliance standards like GDPR, reduce clutter in collaborative environments, and prevent accidental exposure of sensitive materials. Whether you’re running a corporate site with private documents or a membership platform with exclusive content, such measures ensure that only authorized users can access specific media.
Regular audits play a crucial role in maintaining effective media restrictions. Over time, user roles can accumulate unnecessary permissions – a phenomenon known as privilege creep. Scheduling periodic reviews to assess and remove redundant access rights can help close potential security gaps before they become an issue.
Modern plugins now provide advanced features for managing permissions. For instance, PublishPress Permissions allows you to set up custom access-denied messages or apply bulk file restrictions, offering a polished and professional experience for users while keeping your site secure. Personalized error messages, for example, can turn access issues into opportunities to inform users about next steps.
It’s also important to test your restrictions regularly, especially after WordPress or plugin updates. Using test accounts for different user roles ensures that both dashboard controls and direct file URL protections are functioning as expected.
FAQs
How can I decide between using WP Media Folder and PublishPress Permissions for managing media access on my WordPress site?
When deciding between WP Media Folder and PublishPress Permissions, it really comes down to what you need for managing access to your content.
If your main focus is organizing and restricting access to media files within folders, WP Media Folder offers a straightforward and user-friendly solution. However, if you need a broader system that handles permissions for posts, pages, and media based on user roles, PublishPress Permissions might be the better option.
Think about your priorities: for streamlined media management, WP Media Folder is a strong choice. But if you’re after a more extensive permissions setup for various content types, PublishPress Permissions has you covered.
What can I do if media access restrictions for user roles aren’t working correctly?
If your media access restrictions aren’t working as they should, the first step is to double-check your user role settings. Make sure the permissions for each role are properly configured and match the restrictions you want to enforce.
Next, consider whether any plugins might be causing conflicts. To test this, try deactivating plugins one at a time to see if the issue resolves. Don’t forget to clear your site’s cache after making changes to ensure everything updates correctly.
Still having trouble? Take a closer look at your WordPress theme or any custom code you’ve added – these can sometimes interfere with your settings. If you’re unsure how to proceed, turn to a reliable WordPress resource for detailed troubleshooting advice.
Why should I regularly review user roles and permissions on my WordPress site?
Keeping an eye on user roles and permissions on your WordPress site is a key part of maintaining security and managing access effectively. Over time, a user’s responsibilities might change, and their assigned role could end up granting them access to areas or features they no longer need.
Regularly reviewing and updating these roles ensures that access remains appropriate, reducing the chances of unauthorized entry or data breaches. Plus, it helps streamline operations, keeping your site both secure and well-organized.