In this article we are going to learn on how to create a WordPress child theme, child themes are a great option when you want to customize your WordPress site further without breaking core functionalities.
Why Create A WordPress Child Theme?
A child theme is a wordpress theme that inherits functionality, style and features of a parent theme.
Child themes are a great way to customize your site, in terms of changing styling, adding or extending site functions without touching the main or parent theme.
One of the most important aspects of using child themes is that it prevents custom changes from being overridden, incase of any update of the parent theme.
Any changes and customization made using child themes will remain as they are when the parent theme is updated.
What is a Parent Theme?
This is the main theme that contains all required wordpress template files and assets like theme images, JS files etc. for theme functionality.
Before Creating A Child Theme
You will need to have some basic knowledge of HTML, CSS, PHP and wordpress files directory, this will help you are you will be working with codes and wordpress files.
You will need to choose the parent theme in which you would like to make a child theme for.
If you are new to WordPress development then, I would recommend doing this on your local development environment, that is by moving or migrating your site to your local machine.
Creating WordPress Child Theme
We are going to look on two ways of creating child themes, that is
- Manual method using code
- Using wordpress plugin
Method 1: Manual Method using Code
Navigate to /wp-content/themes/ in your wordpress installation directory and create a folder within themes folder. Give the folder a name of your choice, in this tutorial we will name it twentytwenty-child
For easy reference it is better to name the folder the same as the parent theme name with -child appended on it.
For example if you are creating child theme for twentytwenty you can name your child theme folder twentytwenty-child
To access themes folder within wordpress directory you will need to access your site files using cpanel FileManager, FTP or FileManager plugin.
In our case we will be using cPanel FileManager.
Login to your hosting account and click on the File manager icon as shown below.

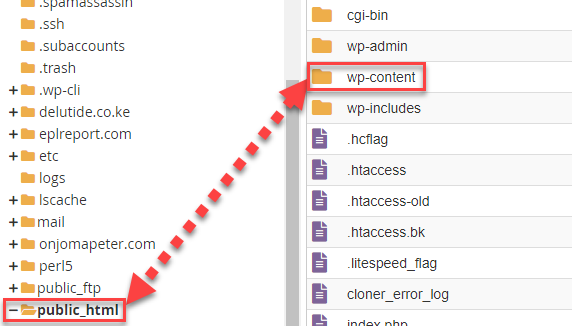
Next locate and open public_html folder > wp-content folder as shown below.
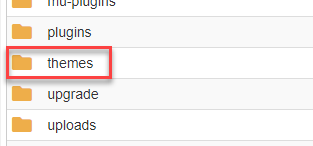
Next navigate to themes folder and create your child themes folder as shown below.
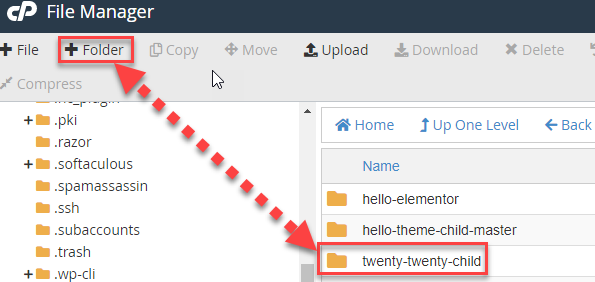
Create your child themes folder by clicking +New Folder button at the top navigation and give it a name. In our case wil will name it twenty-twenty-child as shown below.
Create Style.CSS File
Next open your child theme folder and create a file named style.css, inside that file paste the below code in it and edit to meet your details.
/*
Theme Name:   Twenty Twenty Child
Theme URI:    https://wp.co.ke/
Description:  WPCoke Child Theme
Author:       WP Coke
Author URI:   https://wp.co.ke
Template:     twentytwenty
Version:      1.0.0
License:      GNU General Public License v2 or later
License URI:  http://www.gnu.org/licenses/gpl-2.0.html
Text Domain:  twentytwentychild
*/
Enqueue stylesheet
This is the process of linking your parent and child theme style.css files to ensure that the child theme inherits parent styles so that when the child theme is activated the website doesn’t lose its styling.
It will also ensure that the child theme is loaded before the parent theme, this will help in that when you make changes on child theme style.css file then these changes overrides those of parent style.css file.
To achieve this create another file named functions.php file within your child theme folder and paste below code in it and save changes.
<?php

add_action( 'wp_enqueue_scripts', 'wpcoke_enqueue_parent_styles' );

function wpcoke_enqueue_parent_styles() {

wp_enqueue_style( 'parent-style', get_template_directory_uri().'/style.css' );

}
Activate Child Theme
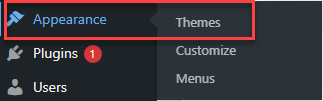
The next step is to activate the child theme, login into your wordpress dashboard go to Appearance > Themes as shown below.
Within the themes section check for the name of the child theme you created for example ours was Twenty Twenty Child
Click on Activate to activate the theme as shown below.

That should be it, you have successfully created your child theme and can proceed to customizing your site as you wish. You can add your styles into styles.css file and also add more functionalities within functions.php file.
Some of the items you can add within functions.php files are analytics codes or java scripts code that need to be added in either header or footer of the site.
See how to add google analytics code using functions.php file.
Method 2: Creating Child Theme Using a Plugin
Here we will be using a plugin called WPS Child Theme Generator to create our child theme.
First you need to install and activate the plugin. See how to install and activate plugins in case you don’t know yet.
Once the plugin is installed locate it under the installed plugin and click on Tools as shown below.

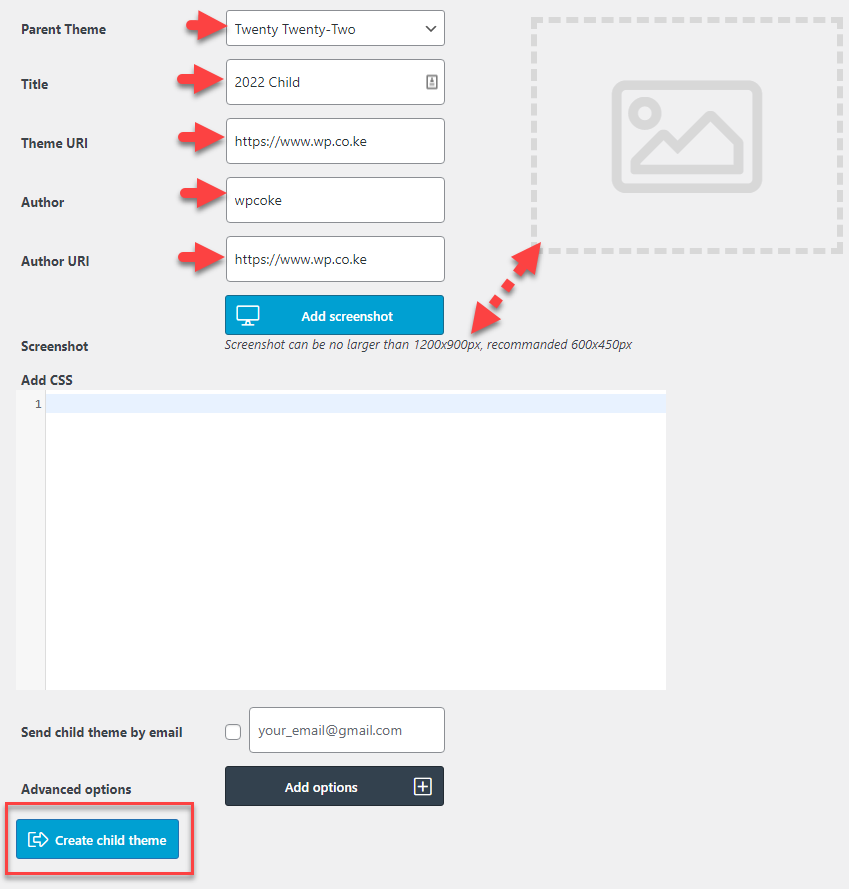
Next page that opens Select the Template (parent theme) and then fill in the child theme info as shown below. Once done click on create child theme
You can also add a screenshot as shown below just make sure it is of the recommended size.
If successful you will get notification that the child theme has been created, now you will head over to the themes section and activate your child theme.
Below is a sample theme we created listed on the themes page.

That’s it, I hope this helps you, if you find this helpful or have any questions or topic you would like covered please leave your comments below.